
How it works
How to import CSV files into Airtable without breaking your data
Impora adds validation, mapping, and automation on top of Airtable imports so bad data gets stopped before it reaches your base.

Upload or connect a file
Start with a CSV or Excel file, or connect a cloud folder your team already uses. This creates a controlled entry point for incoming data.
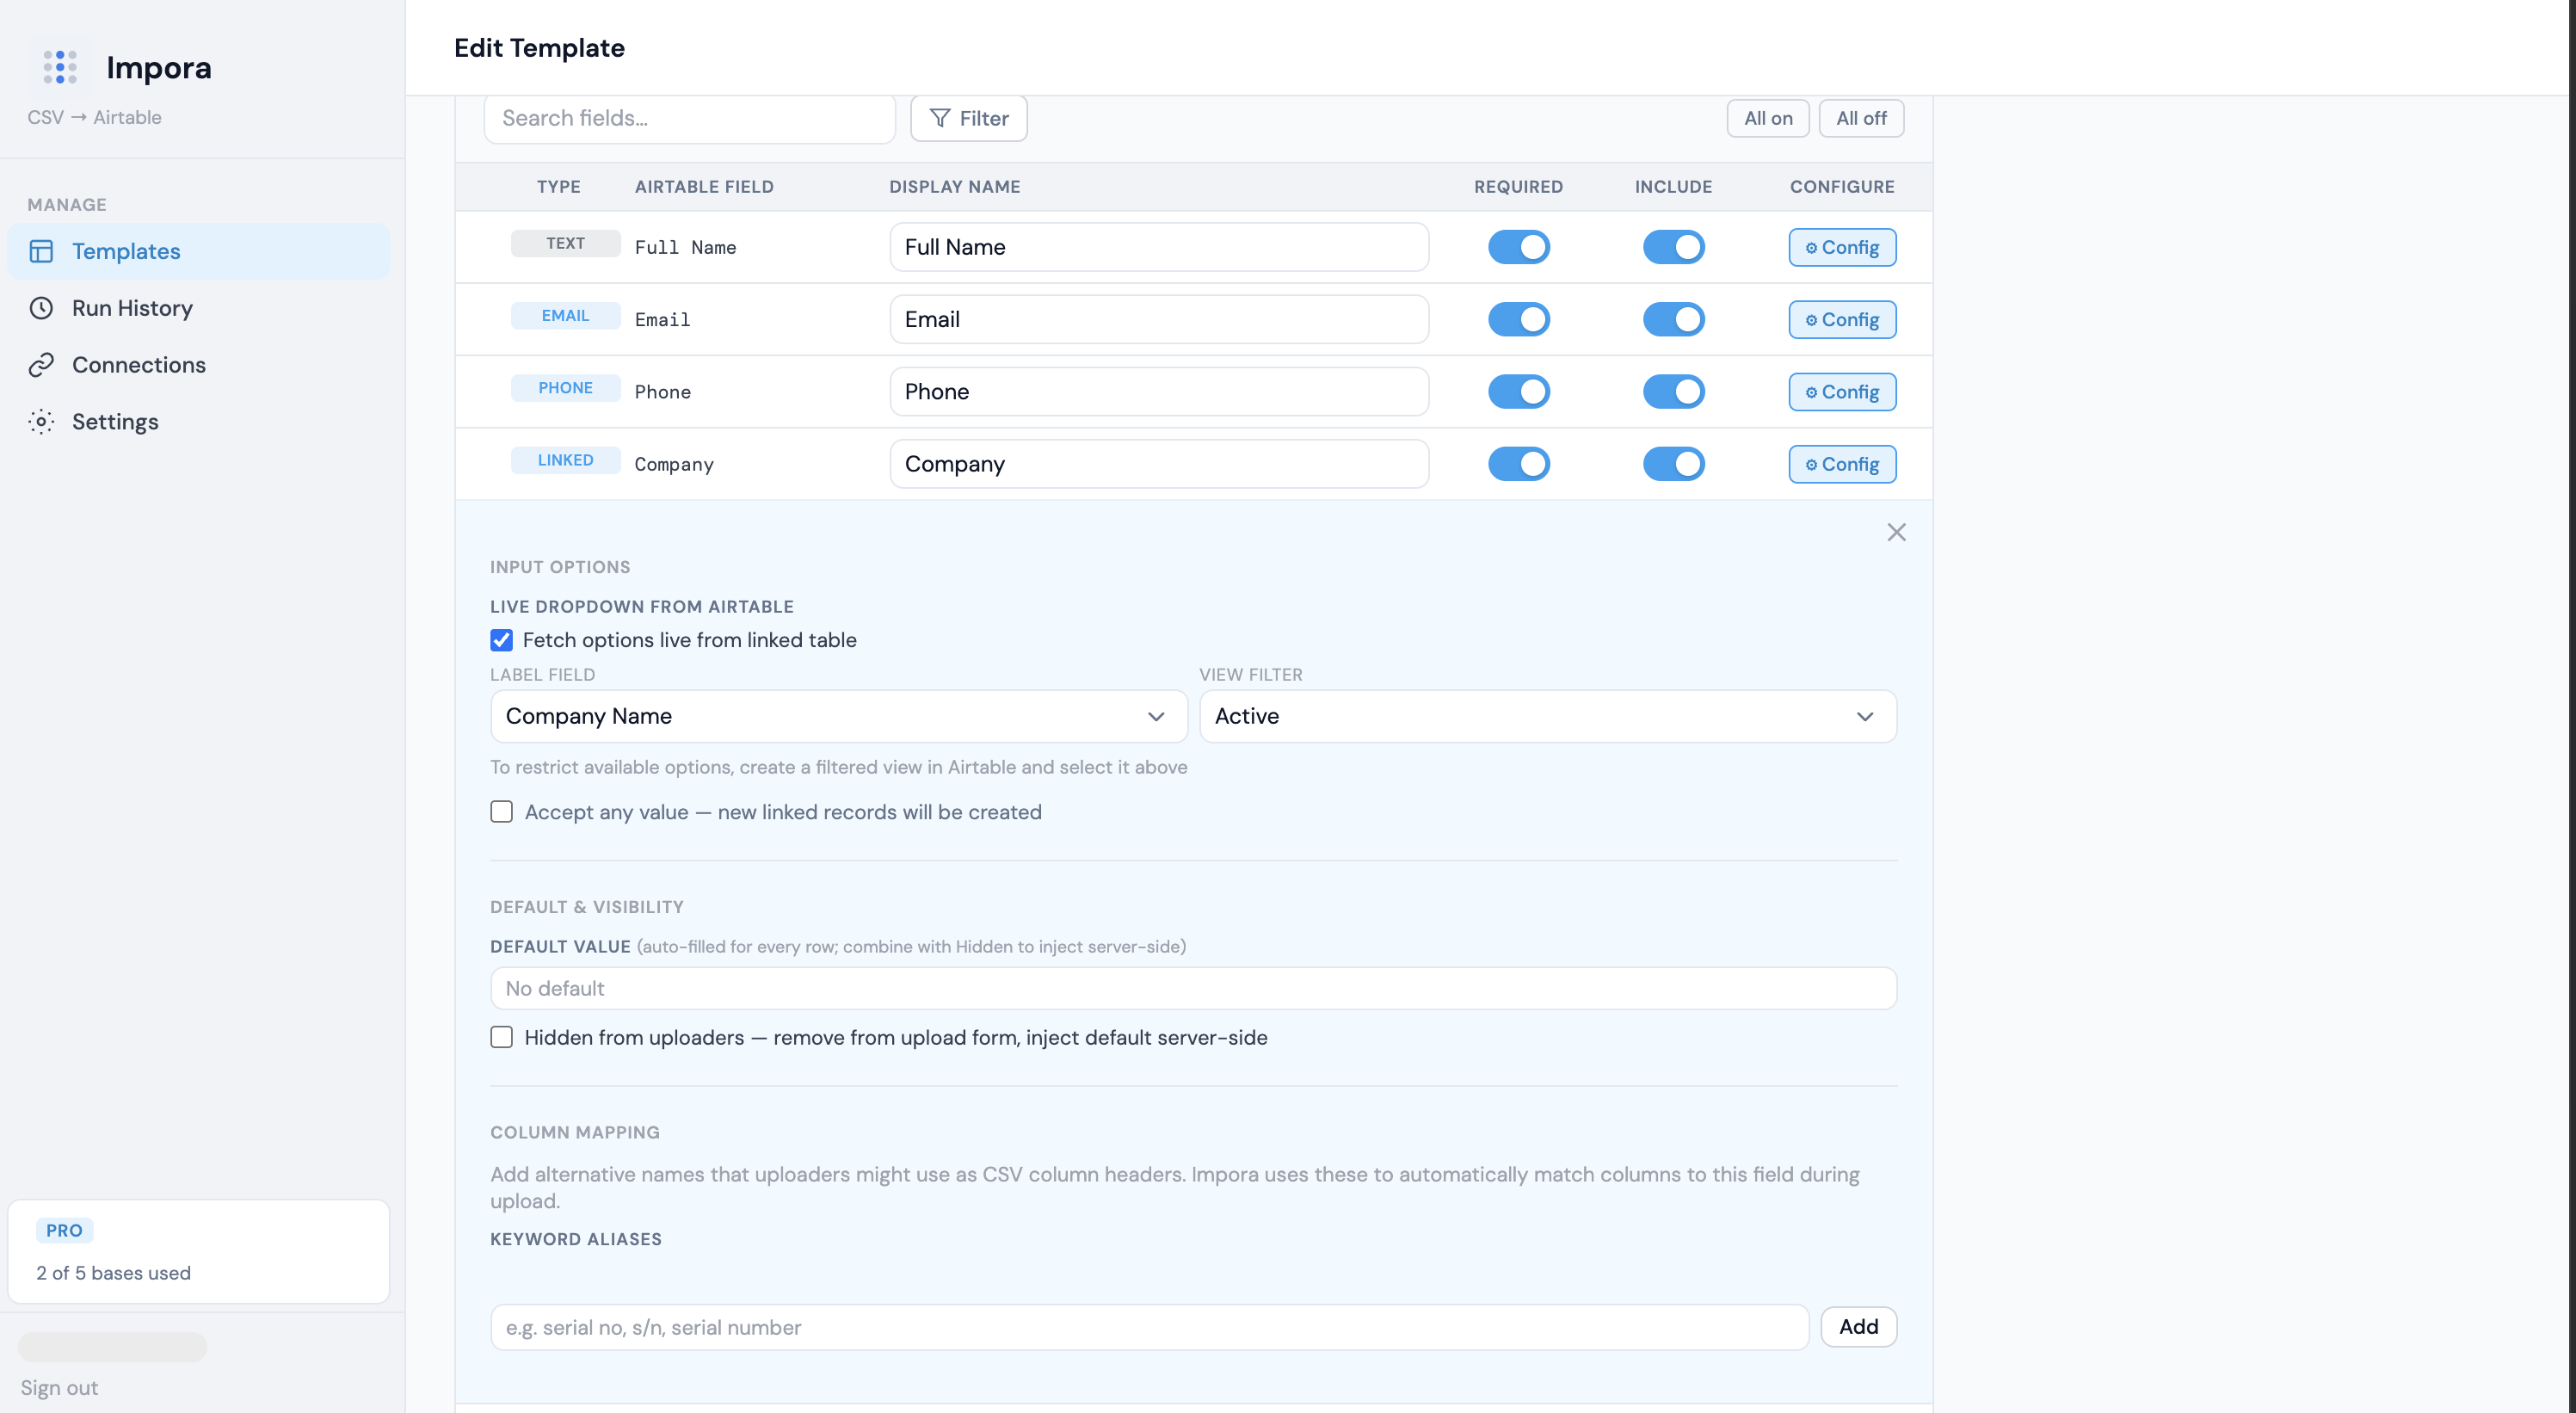
Sync your Airtable schema
Impora reads your base, table, and field setup so the import flow matches your real Airtable structure.
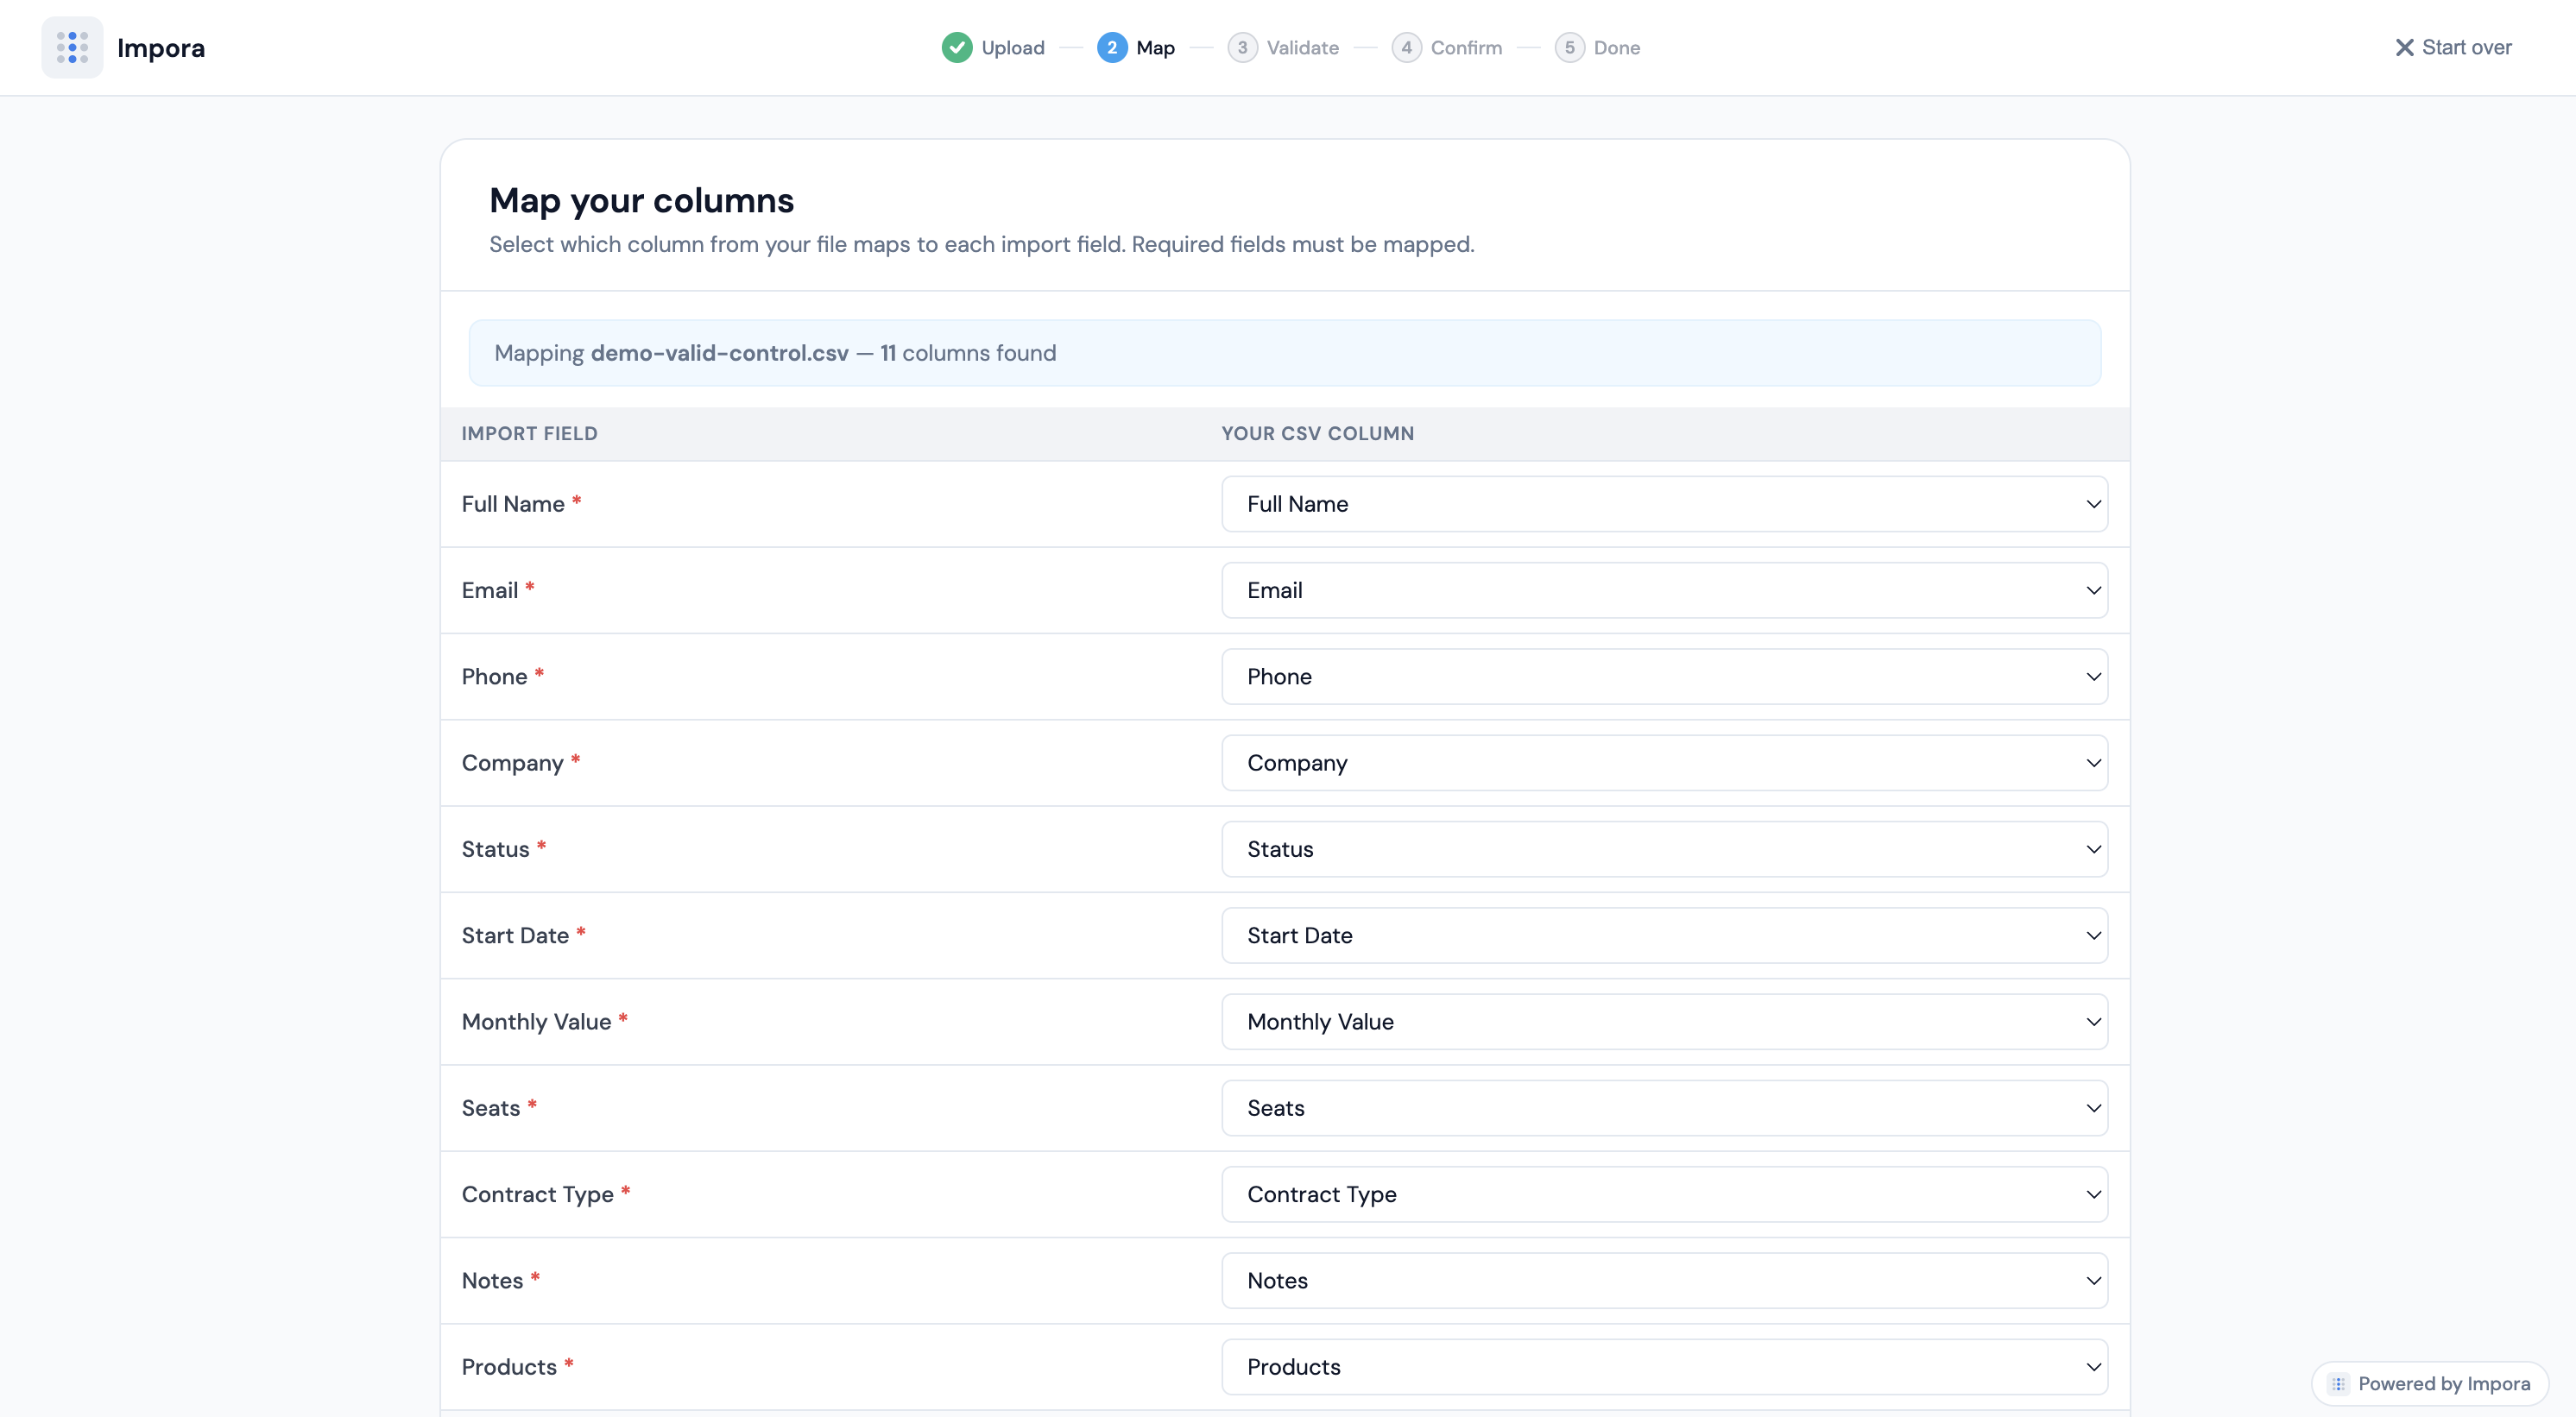
Map columns once
Match spreadsheet headers to Airtable fields and save the template for reuse across future uploads.
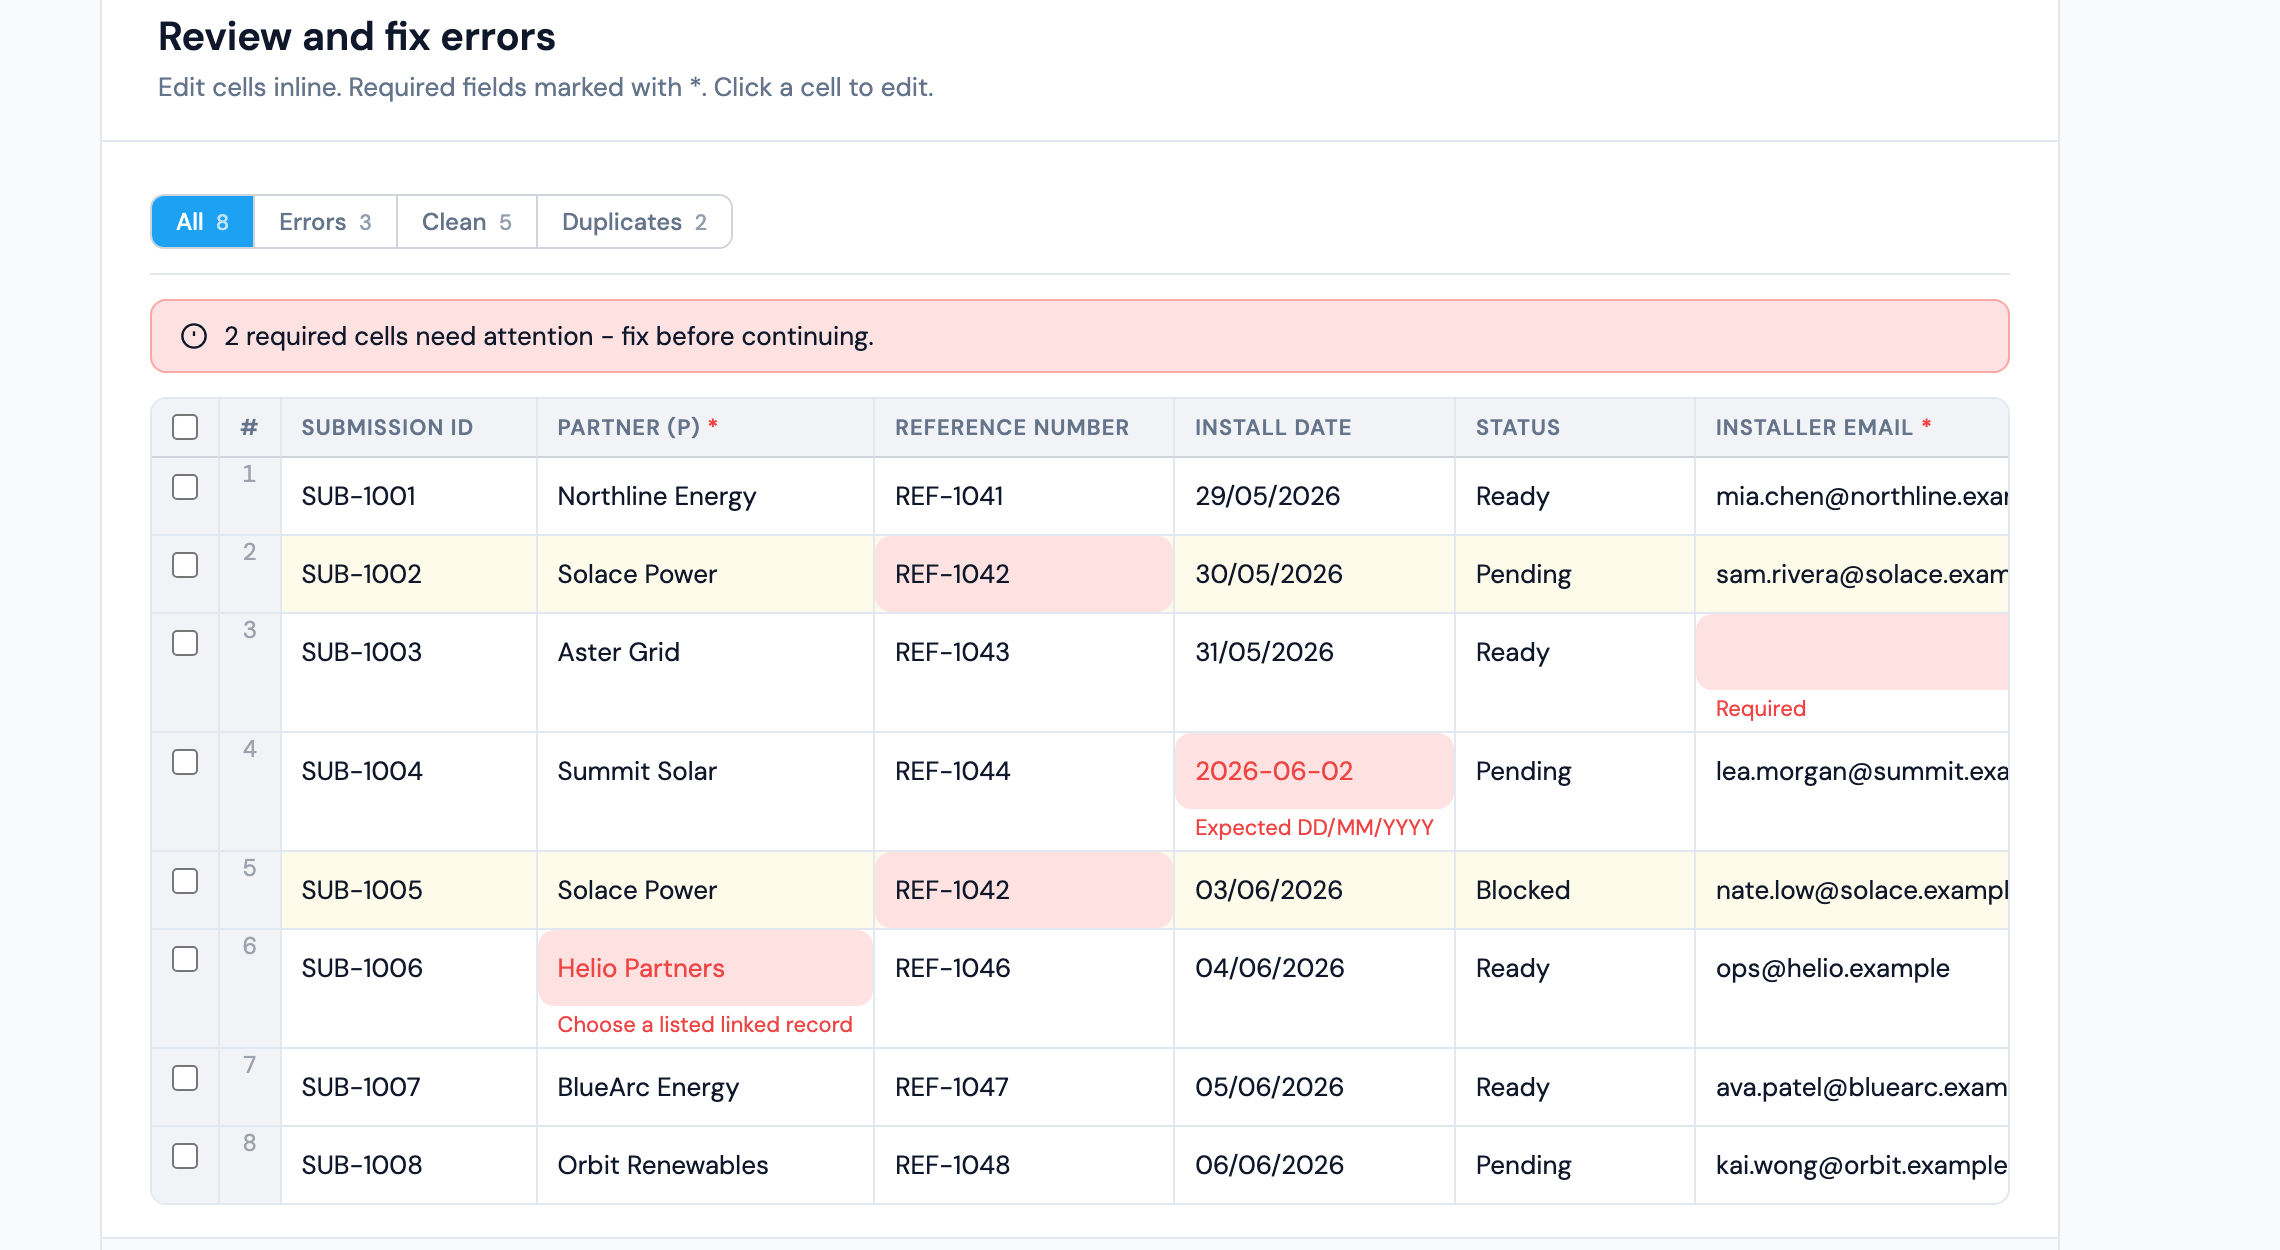
Validate every row
Check required fields, formats, select values, and linked records before submission so errors are caught early.
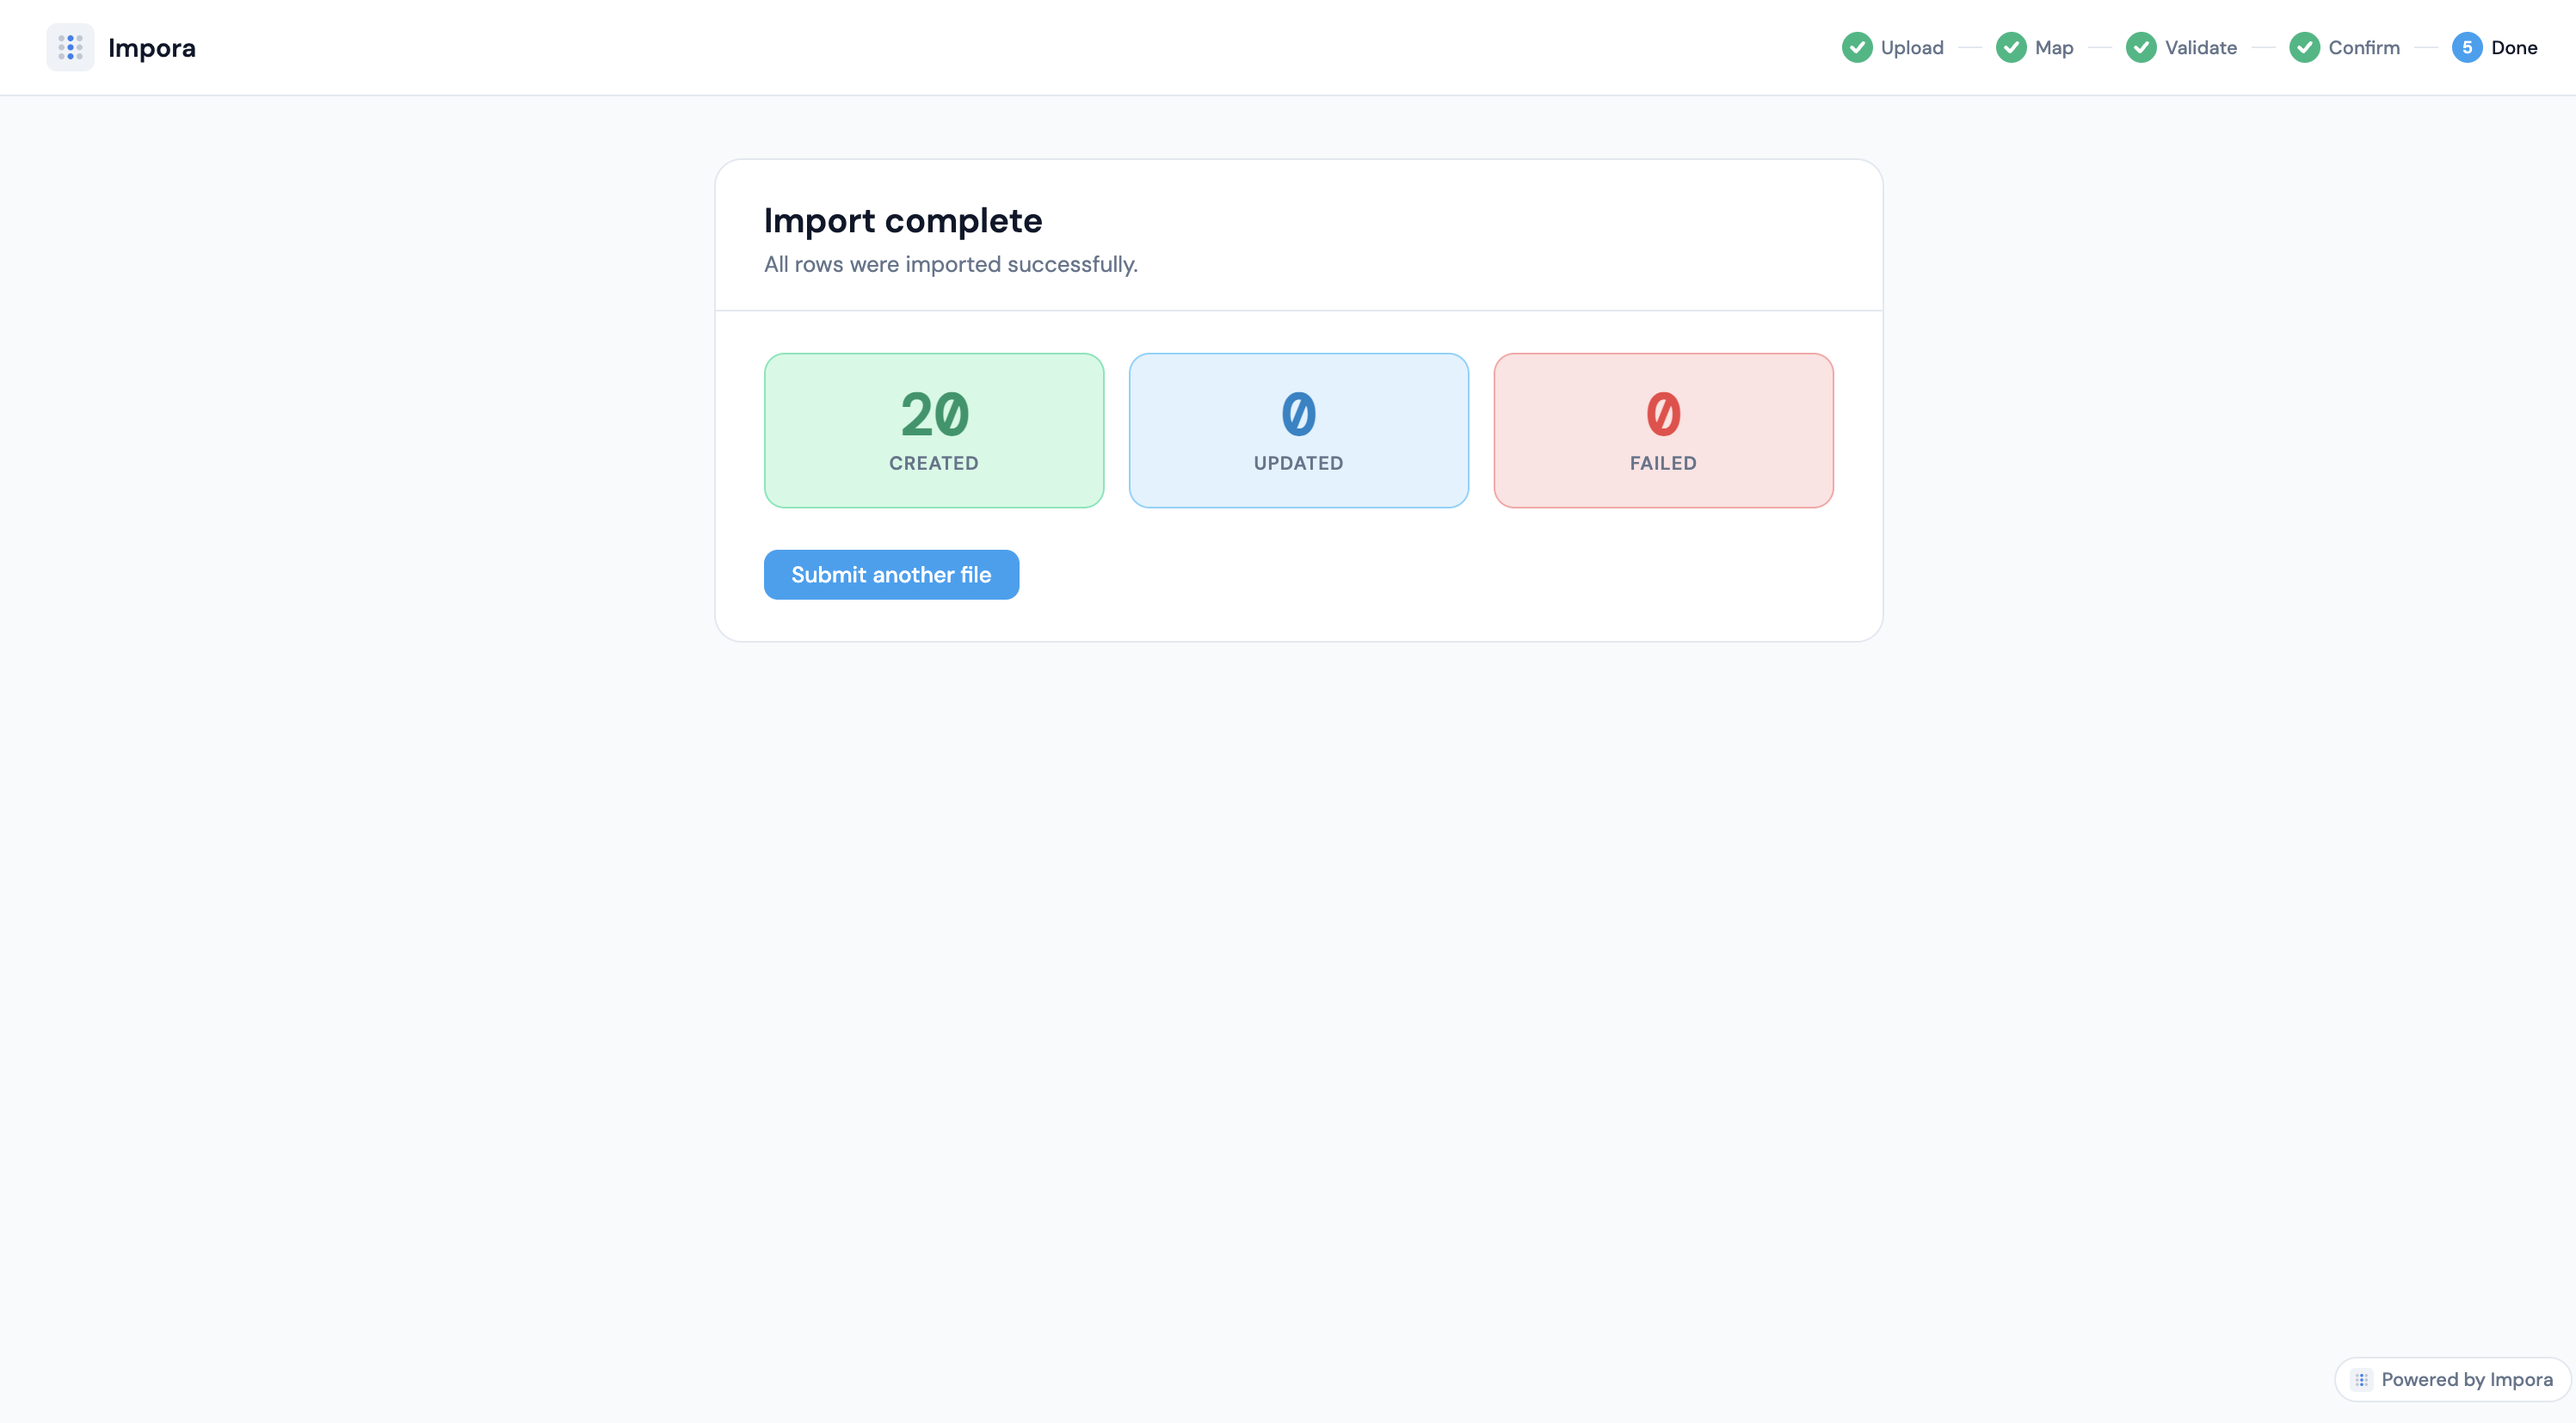
Import clean data
Submit validated rows into Airtable with fewer failures and less manual cleanup.
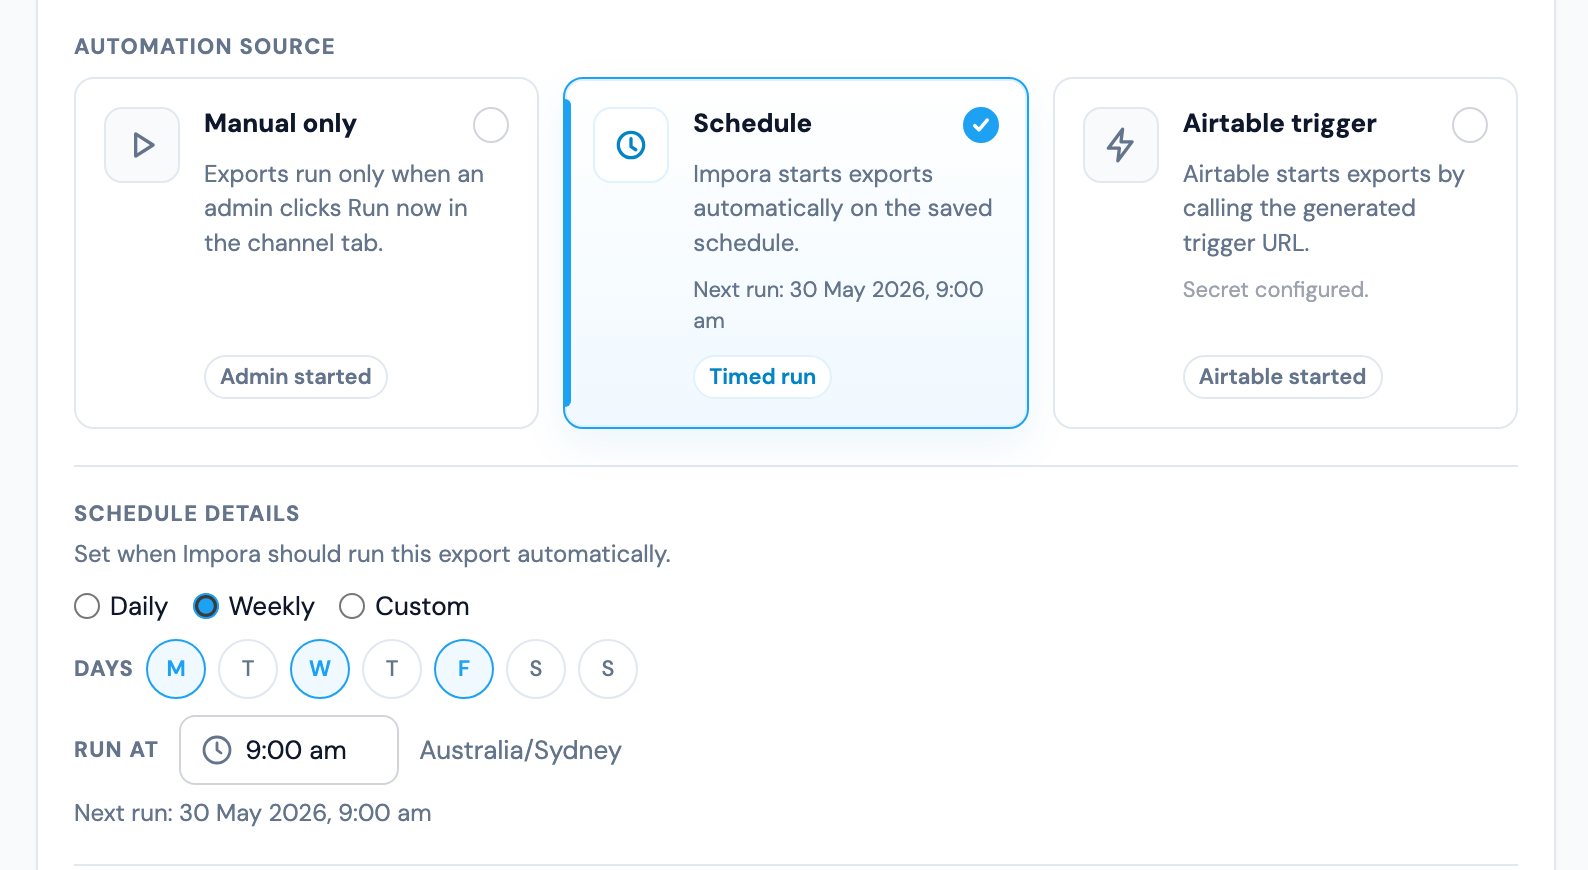
Automate repeat imports
Connect folders to run the same validation and import process automatically for recurring files.
Why not use Airtable's native CSV import?
Airtable's built-in import has no validation layer, no linked record resolution, and no review step. Impora adds all three — whether you upload CSV to Airtable or need to handle linked records import in Airtable.
Try it yourself
Upload a sample CSV and see how Impora validates data before it reaches Airtable.